#
角色表情
#
它是什么?
表情图像是您 AI 角色的图像(也称为"精灵图"),显示在聊天窗口旁边(或后面)。
表情图像可以根据分类自动更改,调整到 AI 最新聊天回复中表达的情感。
#
添加角色表情图像
- 打开扩展面板并展开"角色表情"部分。如果您打开了角色聊天,您将看到一个图像占位符网格。
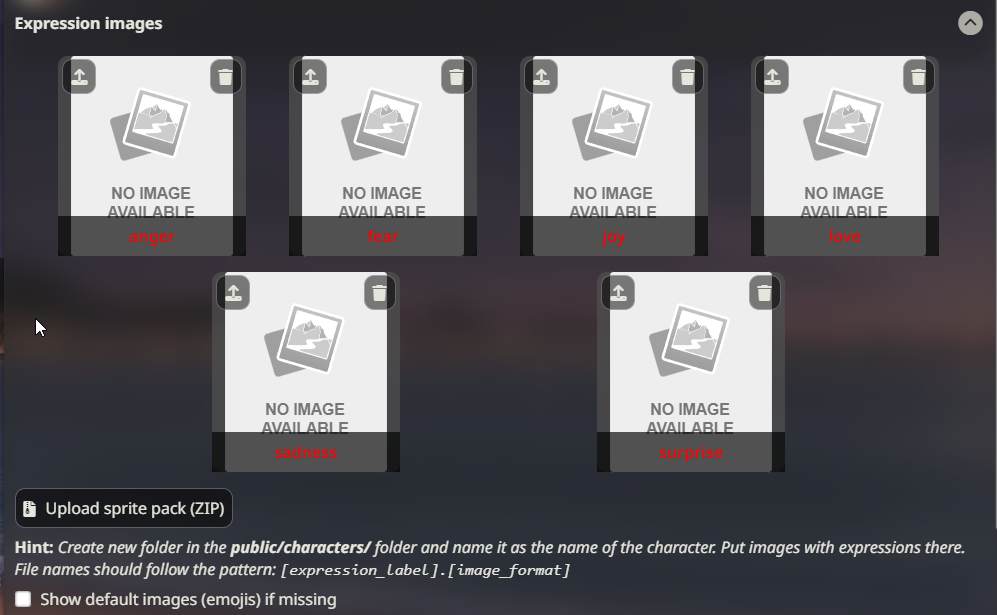
Expression Drawer - 点击网格中每个图像左上角的"上传图像"按钮,并选择您想要应用到该情绪的图像。这将将图像以正确的文件名保存在
/data/<user-handle>/characters/(character_name_here)/文件夹内。 - 对您想要分配图像的所有表情重复此操作。
#
导入表情图像 ZIP 文件
使用' 上传精灵包(ZIP)'按钮,您可以导入包含表情图像集合的 zip 文件,这些图像将自动添加到您当前选定角色的正确文件夹中。ZIP 文件必须包含所有图像的平面结构(无子文件夹)和正确命名的文件。导入 zip 不会自动重命名任何图像以使其匹配情绪。
#
手动更改表情
- 点击任何上传的表情图像(精灵图)以在聊天界面附近(使用默认 UI 模式)或屏幕中央(在视觉小说模式)显示它们。
- 使用
/expression-set (name)斜杠命令或匹配的快速回复来设置精灵图,而无需打开扩展菜单。
#
自动更改表情
要在角色回复时自动设置表情,您有多种选择。 表情在每条消息时更改,或在启用消息流式传输时定期更改。
#
分类模块如何工作?
classify 模块使用一个与 SillyTavern 服务器一起运行的小型"情感解析"模型。此模型接收来自 AI 的新输出,并检测文本表达的是什么样的情感或情绪。虽然单个消息中可能表达多种情感,但模型只选择最可能的一种并将其返回给 SillyTavern。前端扩展然后显示与该情感关联的图像。
#
设置说明(本地)
- 打开扩展面板并展开"角色表情"扩展菜单。
- 在分类来源下拉菜单中选择"本地"。
- 这将启动从 HuggingFace Hub 一次性下载分类模型(约 ~100 Mb)。
- 生成任何消息以验证分类工作正常且精灵图出现。您也可以检查服务器控制台以获取调试日志。
本地分类默认为 28 个可能的图像标签:Cohee/distilbert-base-uncased-go-emotions-onnx
要使用 6 选项分类模型,请将 config.yaml 文件中的 extensions.models.classification 变量的值更改为:Cohee/bert-base-uncased-emotion-onnx
#
设置说明(使用 LLM)
- 通过 API 连接 连接到任何受支持和正确配置的 API。
- 以与上述相同的方式导入表情图像。
- 在分类来源下拉菜单中选择"主 API"。
- 可选地,配置分类指令提示。
- 生成任何消息以验证分类工作正常且精灵图出现。您也可以检查服务器控制台以获取调试日志。
#
Prompt Building Strategies
Main LLM source allows to choose how the classification prompt will be built:
- Limited Context: Only the last message and a system instruction prompt are sent.
- Full Context: The entire chat history, including the character card are sent.
#
Setup Instructions (WebLLM)
- Install the official WebLLM extension.
- Import the expression images the same way as mentioned above.
- Select "WebLLM" in the classification source dropdown.
- Optionally, configure the classification instruction prompt.
- Generate any message to verify that the classification works and the sprite appears. You may also check the server console for debug logs.
#
Setup Instructions (with Extras)
警告
Extras is deprecated and may be removed in future updates.
- Have Extras installed and running with the
classifymodule enabled:python server.py --enable-modules=classify - Import the expression images the same way as mentioned above.
- Select "Extras" in the classification source dropdown.
- The appropriate expression image will display automatically whenever the AI sends you a response.
Extras API uses a classification model with 6 options by default: nateraw/bert-base-uncased-emotion
There is also a model with 28 options: joeddav/distilbert-base-uncased-go-emotions-student
To use this model you need to change your Extras command line to include the following argument (with a space before and after): --classification-model=joeddav/distilbert-base-uncased-go-emotions-student
#
Custom Expressions
How to get more expression options than provided by default? You can set up Custom Expressions in the extension settings. You can assign any name to Custom Expressions. They will appear in the expression image list and can be assigned images like other expressions. They will have an indicator showing that those are custom.
提示
Both Local and Extras only support a limited list of expressions.
If you want Custom Expressions to be displayed, you either need to train a classification model with supported labels (outside the scope of this guide), or you can use LLM or WebLLM as classification source, which both will automatically use all existing expressions - both the default and any custom ones.
#
What image formats are supported for Expressions?
Any image format is allowed, including webp and animated gifs.
The most common format is a PNG file with a transparent background.
#
Using Default Expressions
If you don't have expression images for all expressions of a character, or no images at all, there are multiple options on what to display by default.
All of those can be selected via the dropdown under 'Default / Fallback Expression'.
- Choose a Fallback Expression: If an expression gets chosen where you don't have an image for, the fallback expression gets shown instead. Simply select one of the available expressions from the dropdown.
- [No Fallback]: When no image exists, show nothing.
- [Default emojis]: You can use the built-in default expressions which are included with in SillyTavern. These are simple emoji-style images.
#
Using Multiple Images per Expression
It is possible to add multiple images per expression to allow for more variety in displayed expressions.
To enable this, simply toggle Allow multiple sprites per expression.
You can now upload more than one image, and any additional images will be displayed with a small marker.
Individual images can be manually chosen by selecting them with a click, or via /expression-set type=sprite, which will list available sprite images, instead of expressions.
Whenever an expression with multiple images gets automatically chosen, one of the existing images will be selected at random.
If you want to force a new image of that expression to be chosen when the same expression gets used multiple times, you can enable Re-roll if same sprite is used again.
#
Naming Convention for Multiple Images per Expression
In case of multiple images per expressions, files need to be named a specic way.
The files need to start with the name of the expressions, and then followed by a suffix, either separated by a dot or a dash. Examples: joy.png, joy-1.png, joy.expressive.png
File names must follow this format for both direct uploads and ZIP imports.
#
Sprite Folder Override
笔记
Display names (not character card filenames) dictate which image set is used
If you have more than one character with the same display name, they will both use the same set of expression images.
If you want a different image set to be used for each version of the same-named character, you can use the sprites folder override.
Folder overrides can also be used to define different sprite sets (outfits, etc.) of the same character.
#
How to set an override
- Create a folder in the
/data/<user-handle>/characterswith any name and put images there, e.g./data/<user-handle>/characters/Boris. - Open the chat with the character whose sprites you'd like to override.
- Enter the name of the override folder into the "Sprite Folder Override" input and click "Submit".
- The Sprites list will reload and the "Sprite set" indicator should show the override folder.
- Alternatively, you can use the
/costumeslash command to achieve the same result:/costume Boris. - By prepending a backslash to the override folder name, it will resolve to a subfolder in the current character sprites folder, e.g.
/costume \tracksuitfor the character named Boris will resolve to the/data/<user-handle>/characters/Boris/tracksuitfolder.